
For this project I worked in Photoshop, using a black and white picture of a mighty lion. Aventually creating a neon light effect and smoke around the lion.
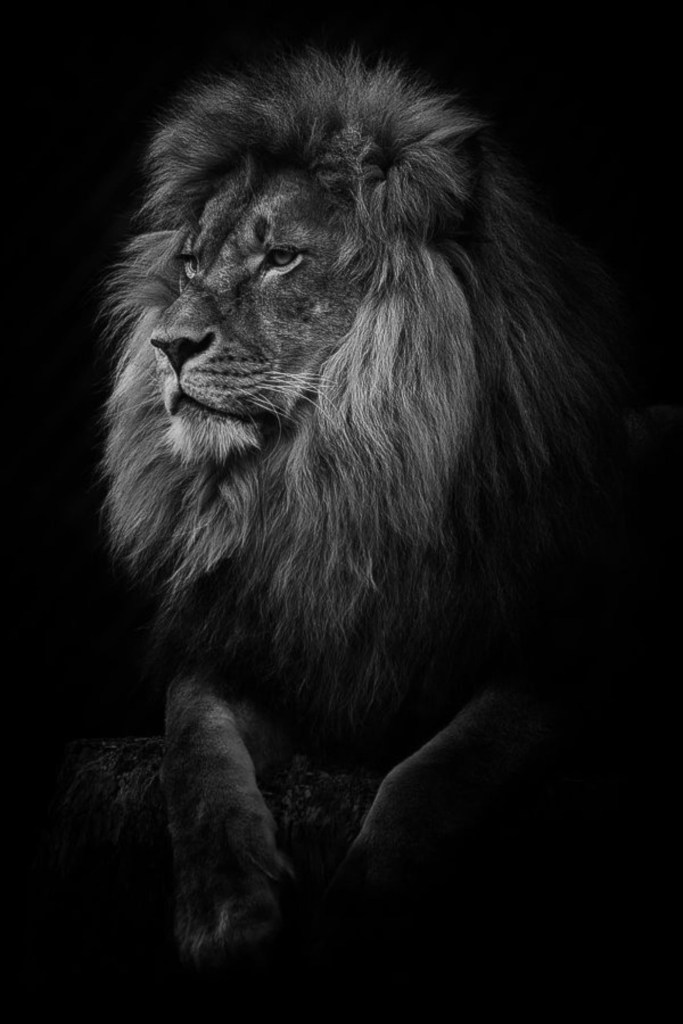
I startet out with this picture:
In the beginning I started with making the black background bigger. In order to have more workspace for the shape, neon and smoke. I added another layer, then I used the pen tool to make the shape (triangel) around the lion.
I chose the colour and shape of the brush before I started with the pen tool, after laying down my anchor points I had a lot of trouble figuring out how to draw/ fill the path. It took me a while before figuring out the commands.
- Control + click = more options like fill path
Then I worked with the layer adjusting inner glow, outher glow, shadow and colourtuning.
After getting the neon light effect I wanted I moved on to creating another layer. So that I could go over some parts of the lion with black, to make the lion appear inside the triangel instead of behind it.
Some adjustments where needed along the way to make the colour «shine».
At the end i used the smoke brush tool (special effects) to make it smokey/foggy around the lion. At first I forgot to change the mode of the brush to «normal», and the smoke did not work the way I wanted to. It got grainy. After a long time searching I finally found out it was just one little setting wrong. Brush mode is important, you guys!
The End Result

This creation took me several hours, but the learning curve is steep. I feel that I learn so much with every project I’m working on.
Best regards, CDH

Leave a comment